Pictures are worth a thousand words.
I used a dremel with various bits, cordless drill to remove a large amount of material by the lug area, 11" of aluminum U channel, JB Weld, and 60 minute two part epoxy.
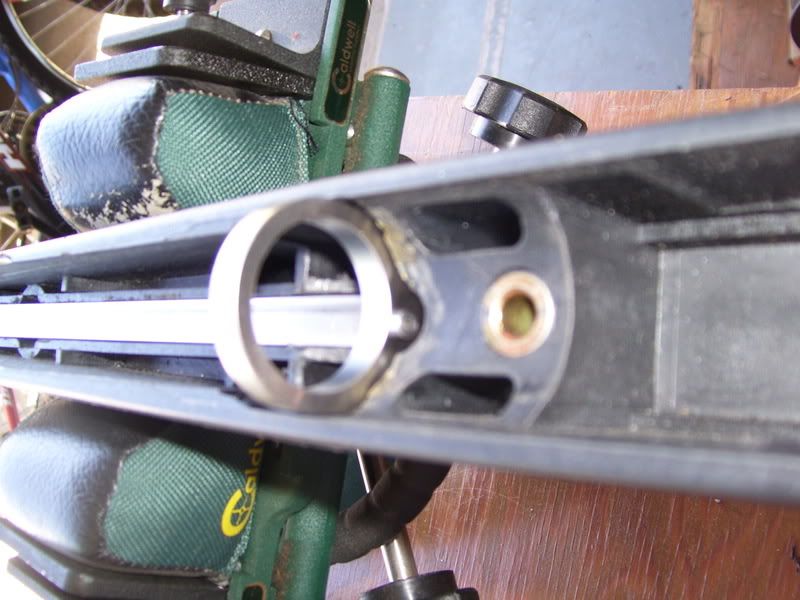
The starting point. Rough up the entire outside of the U channel. Remove the bump that is located between the shell casings in the third photo. Remove the crossbrace just forward of the lug channel. I used a 7/16" drill bit to remove material behind the lug area so the aluminum U channel will be epoxied under that area as well.
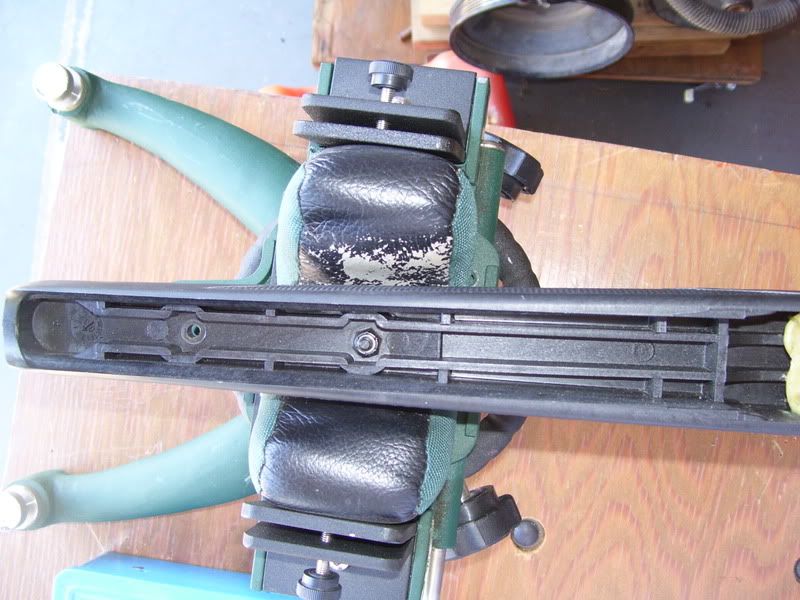
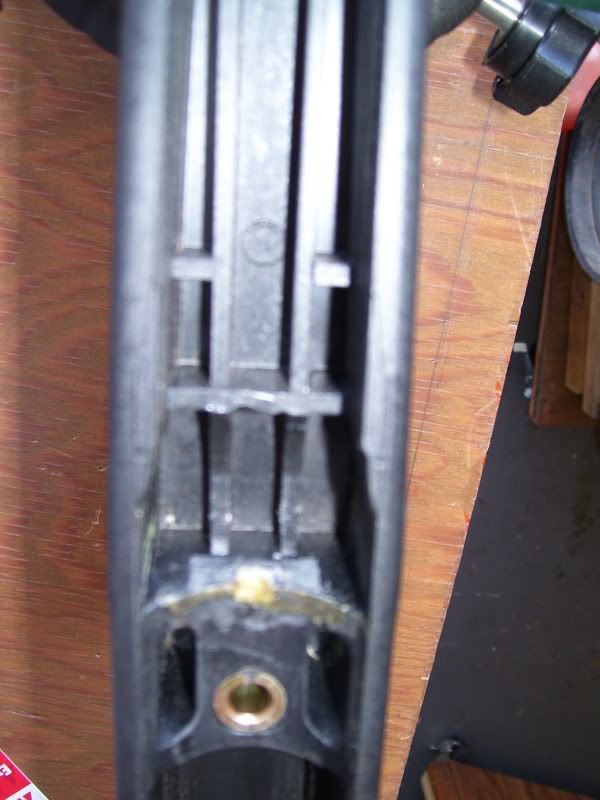
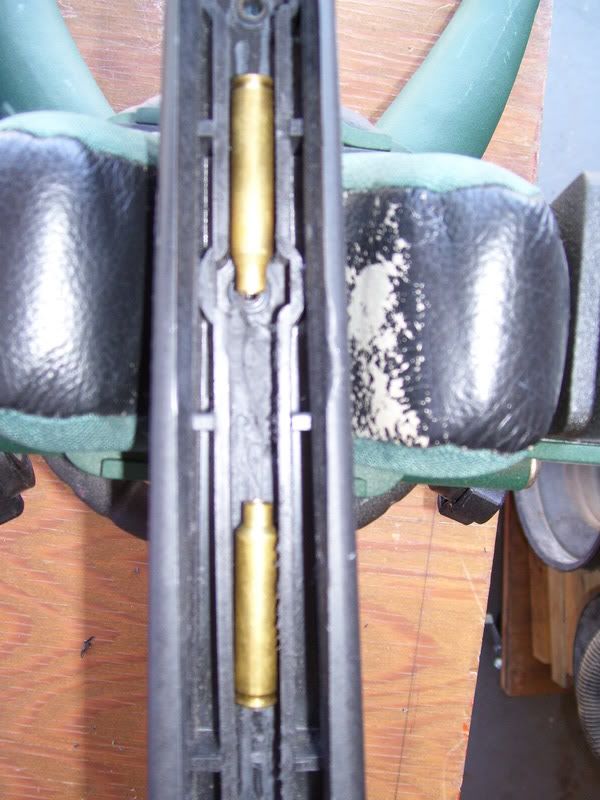
Cut a small slot in the aluminum U channel for the recoil lug. Compare the pictures with the Northland Shooters Supply stainless recoil lug in place for the before and after photos.
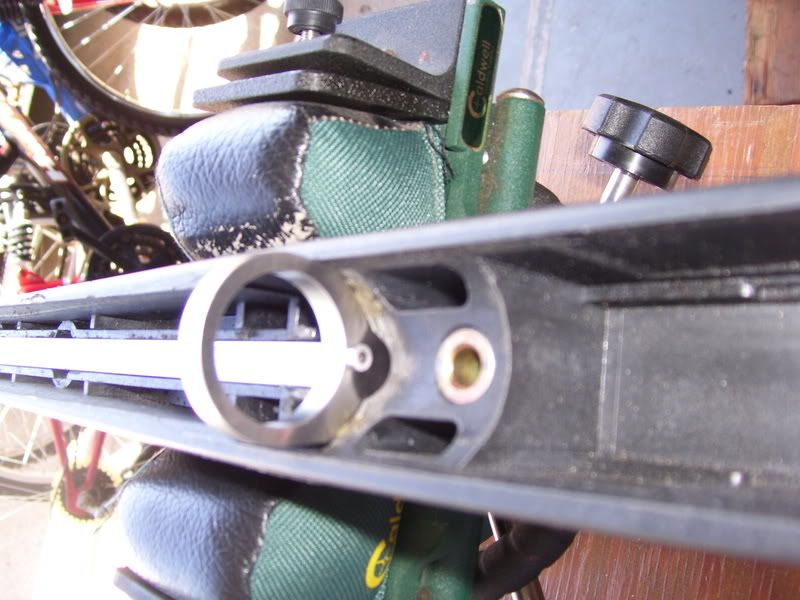
You will need to remove some material from the top of the aluminum U channel, but only 75% of the length. I cheated, I used a bench mounted belt sander. WEAR GLOVES and safety glasses. U channel gets warm quick!!
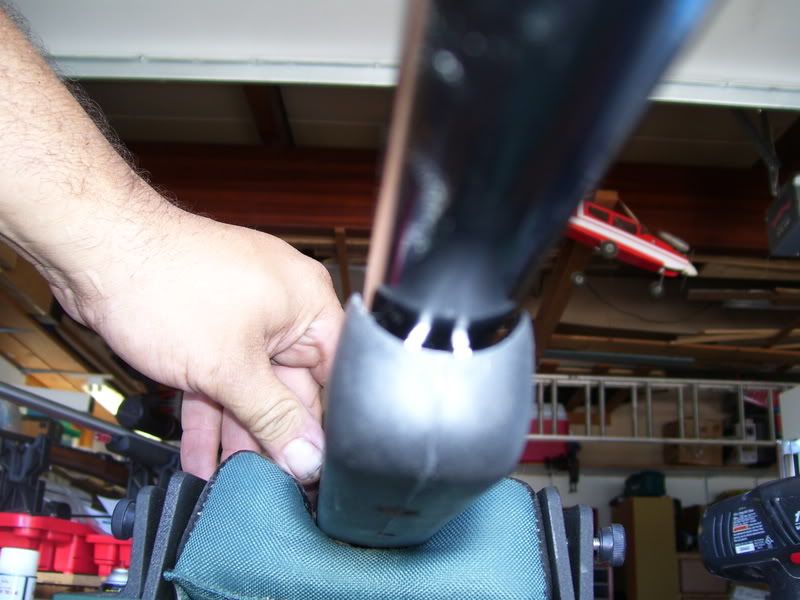
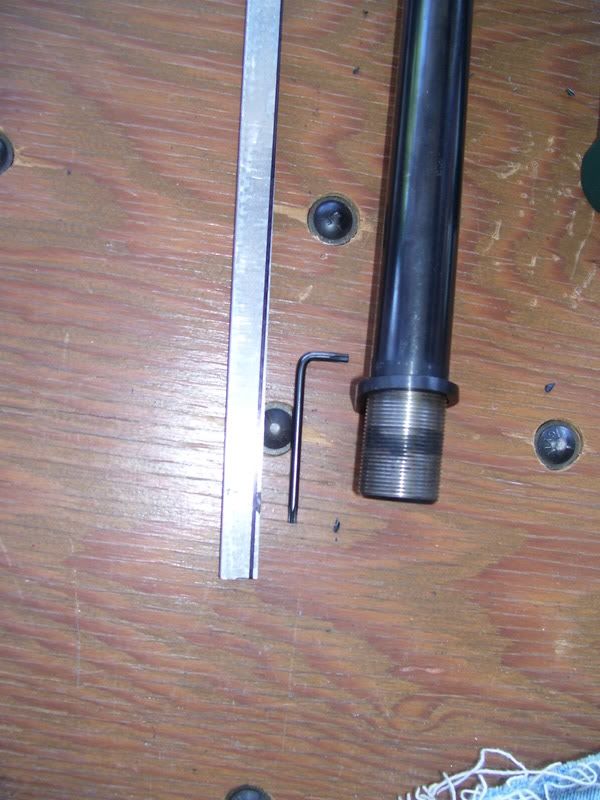
Almost done. Waiting for the epoxy to dry. Will actually wait for the epoxy to dry overnight. Because you are a step ahead of mine, you are wondering about the sling/bipod swivels. I am going to drill them to the correct hole size, tap the aluminum channel, install the swivels, and put a nice glob of JB Weld on top of the thread still exposed in the channel.
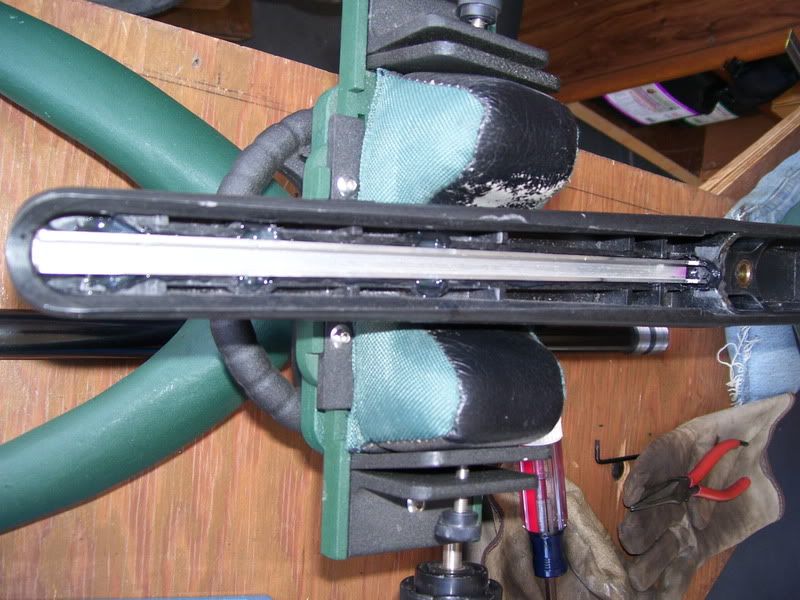
Highly recommend bedding the action to the stock, paying particular attention to fill the lug/underlug area with bedding compound (area removed to allow the U channel to slide in/under the lug area).